
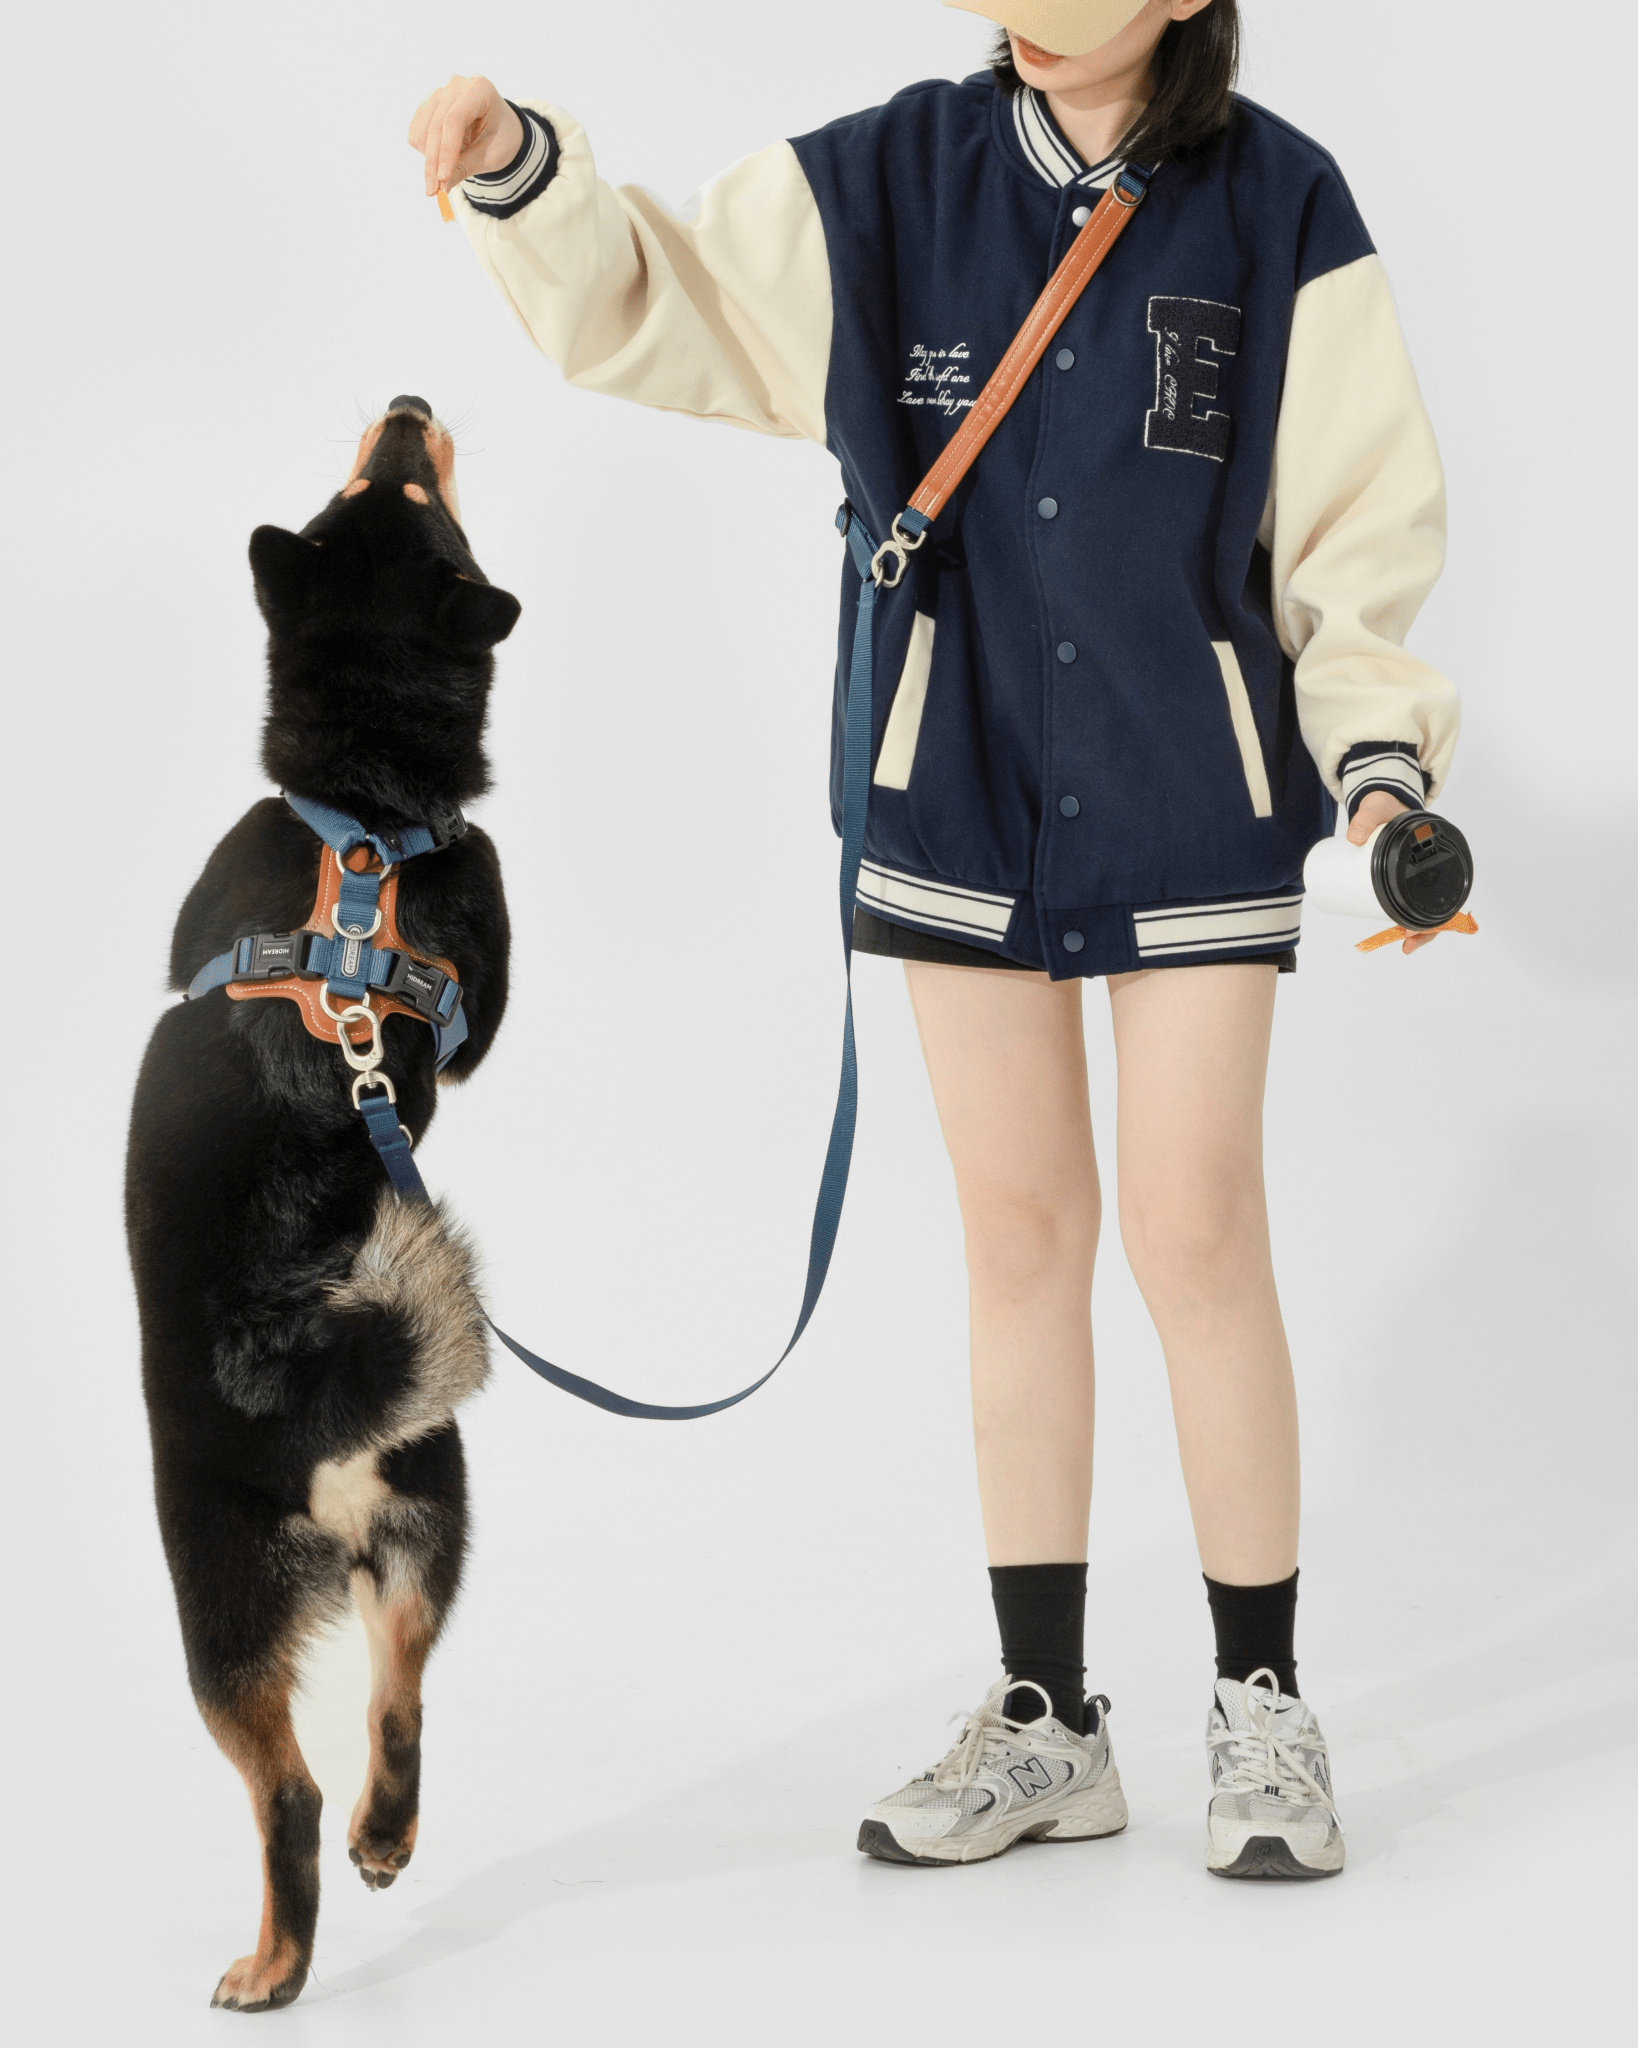
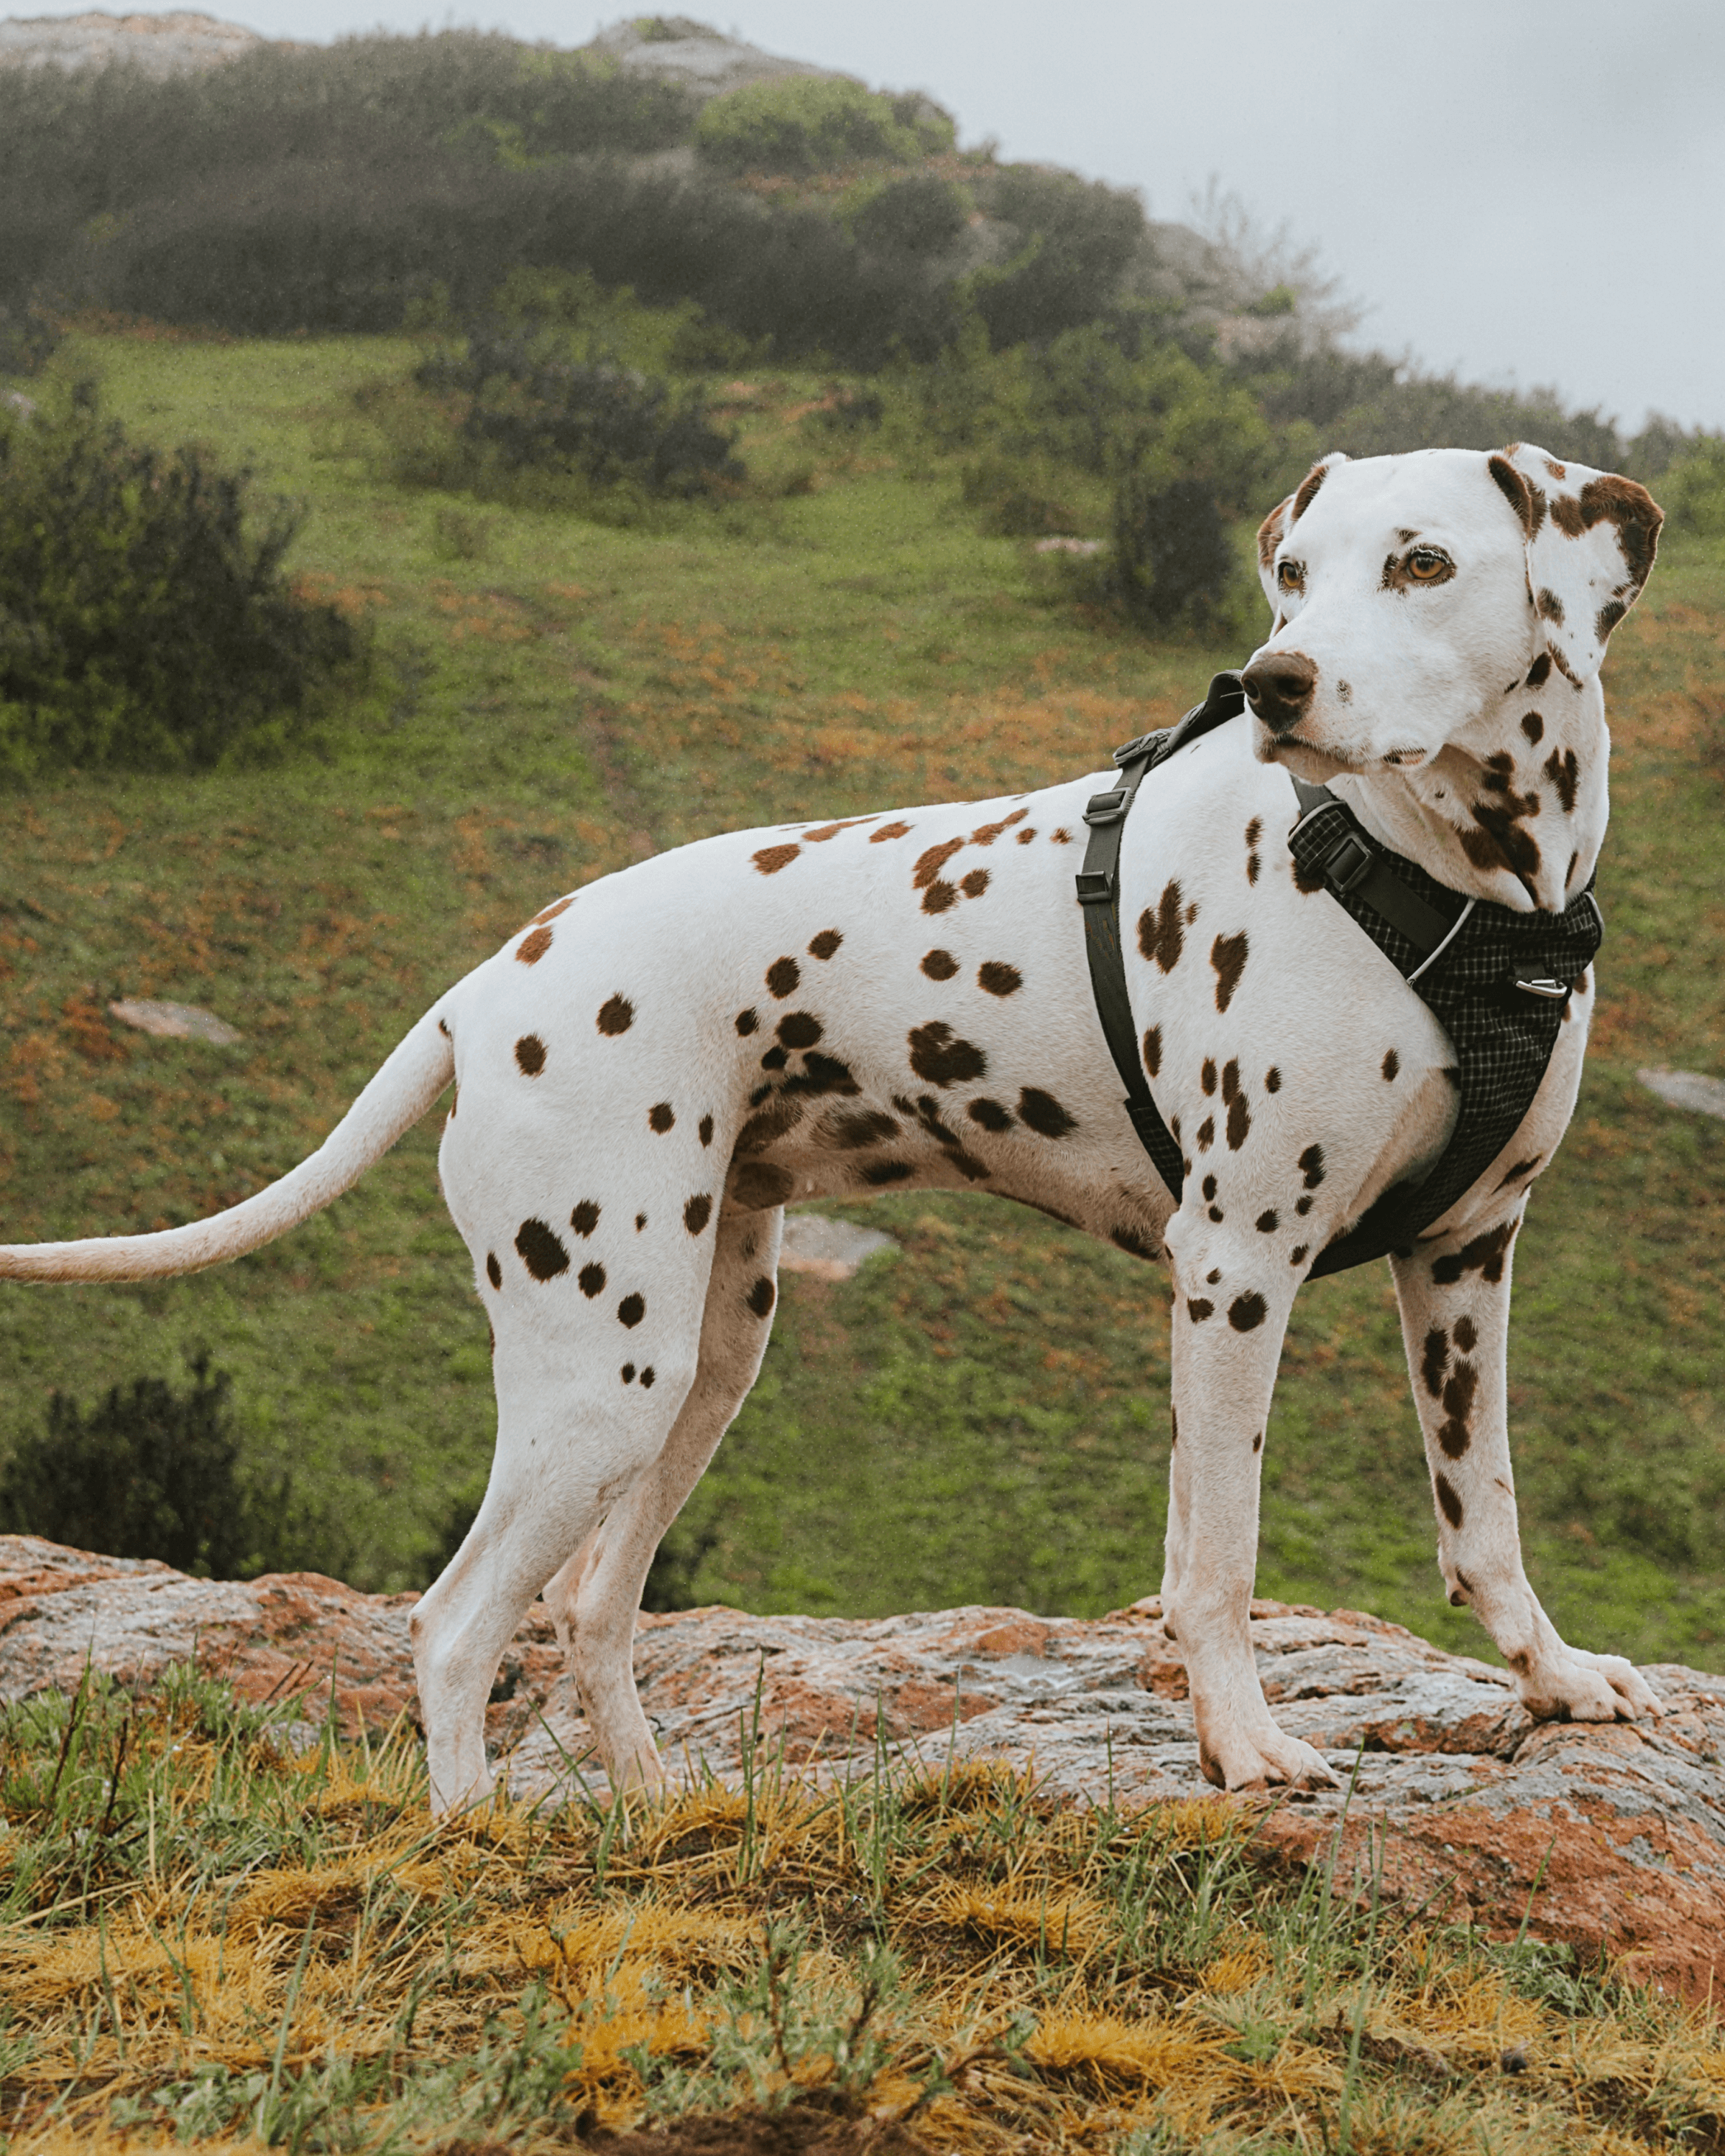
A dog harness is an essential accessory for pet owners, providing better control, reducing neck strain, and enhancing overall safety during walks. Unlike collars, which put pressure on a dog’s neck, a harness distributes weight evenly across the chest and shoulders. However, ensuring a proper fit is crucial for both comfort and functionality. Here’s a step-by-step guide to correctly putting on a dog harness.
1. Keep Your Dog Calm
Before attempting to put on the harness, make sure your dog is calm and relaxed. Some dogs may resist wearing a harness at first, so it helps to introduce it in a positive environment. Using treats, gentle praise, or toys can make the experience more pleasant.
Choose a quiet space without distractions to prevent your dog from becoming overly excited or anxious. If necessary, allow them to sniff the harness first to become familiar with it before putting it on.
2. Identify the Type of Harness
Harnesses come in different styles, and each type has a specific way of putting it on. The most common types include:
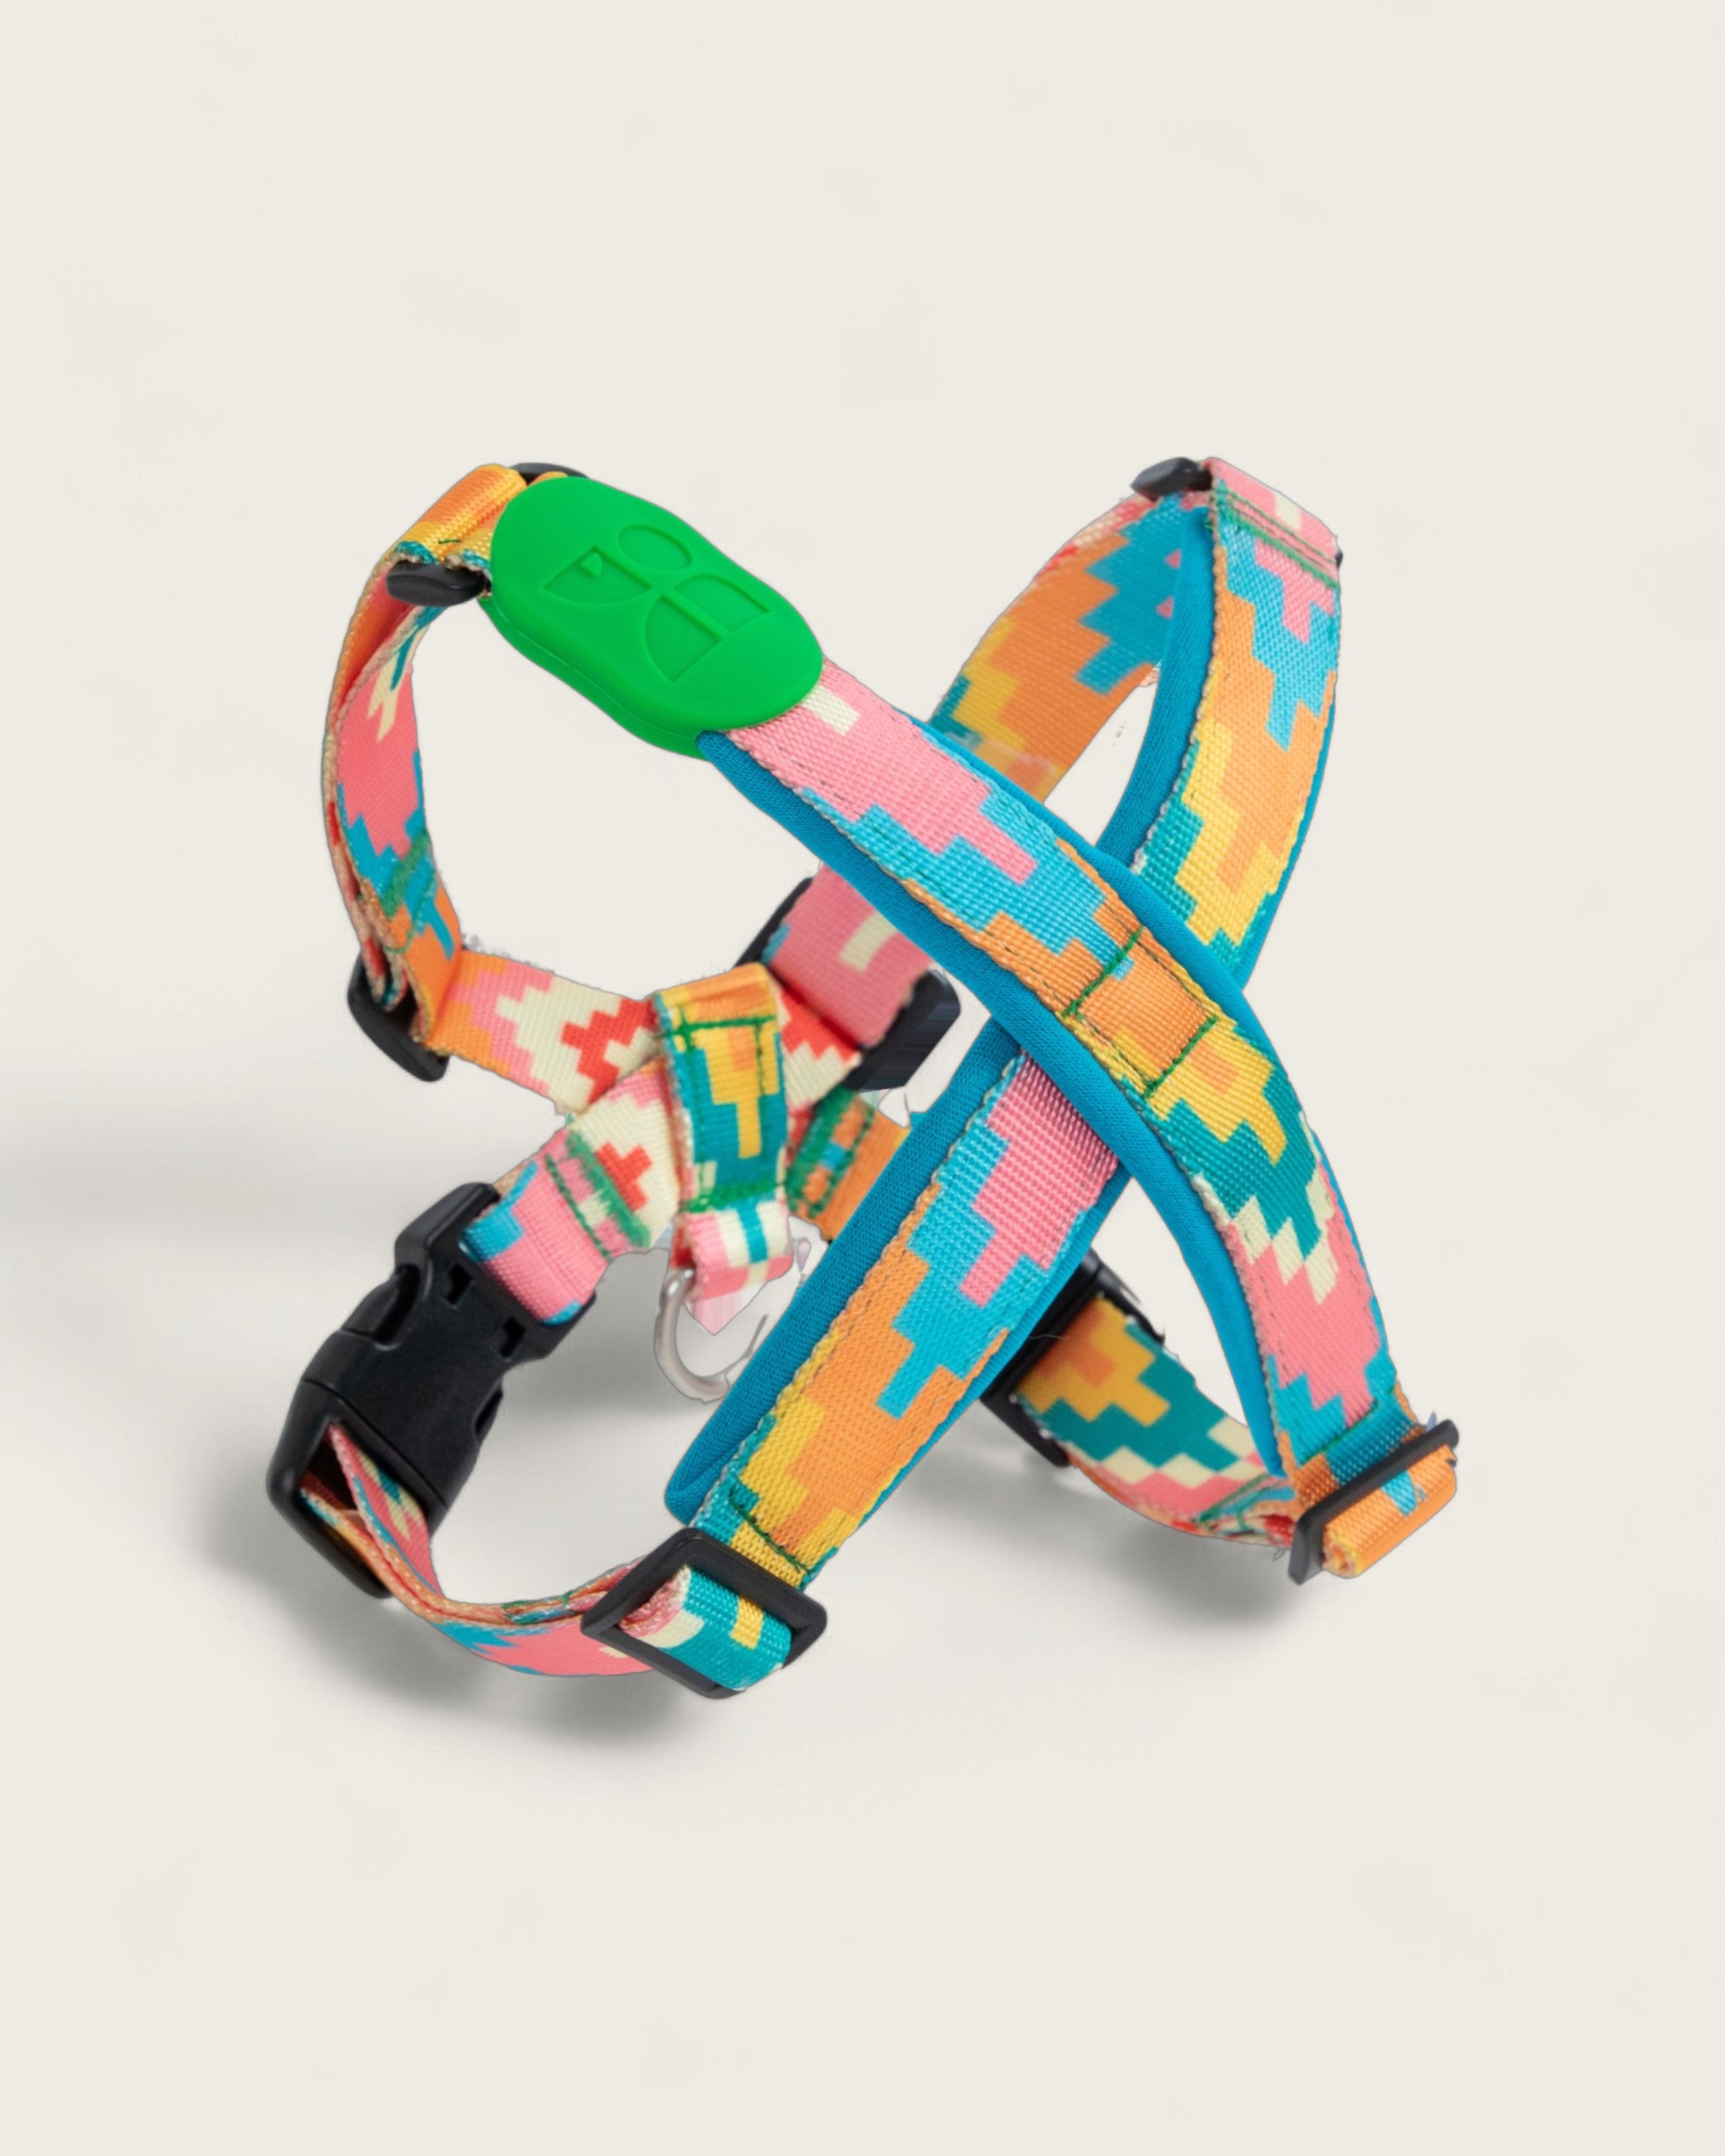
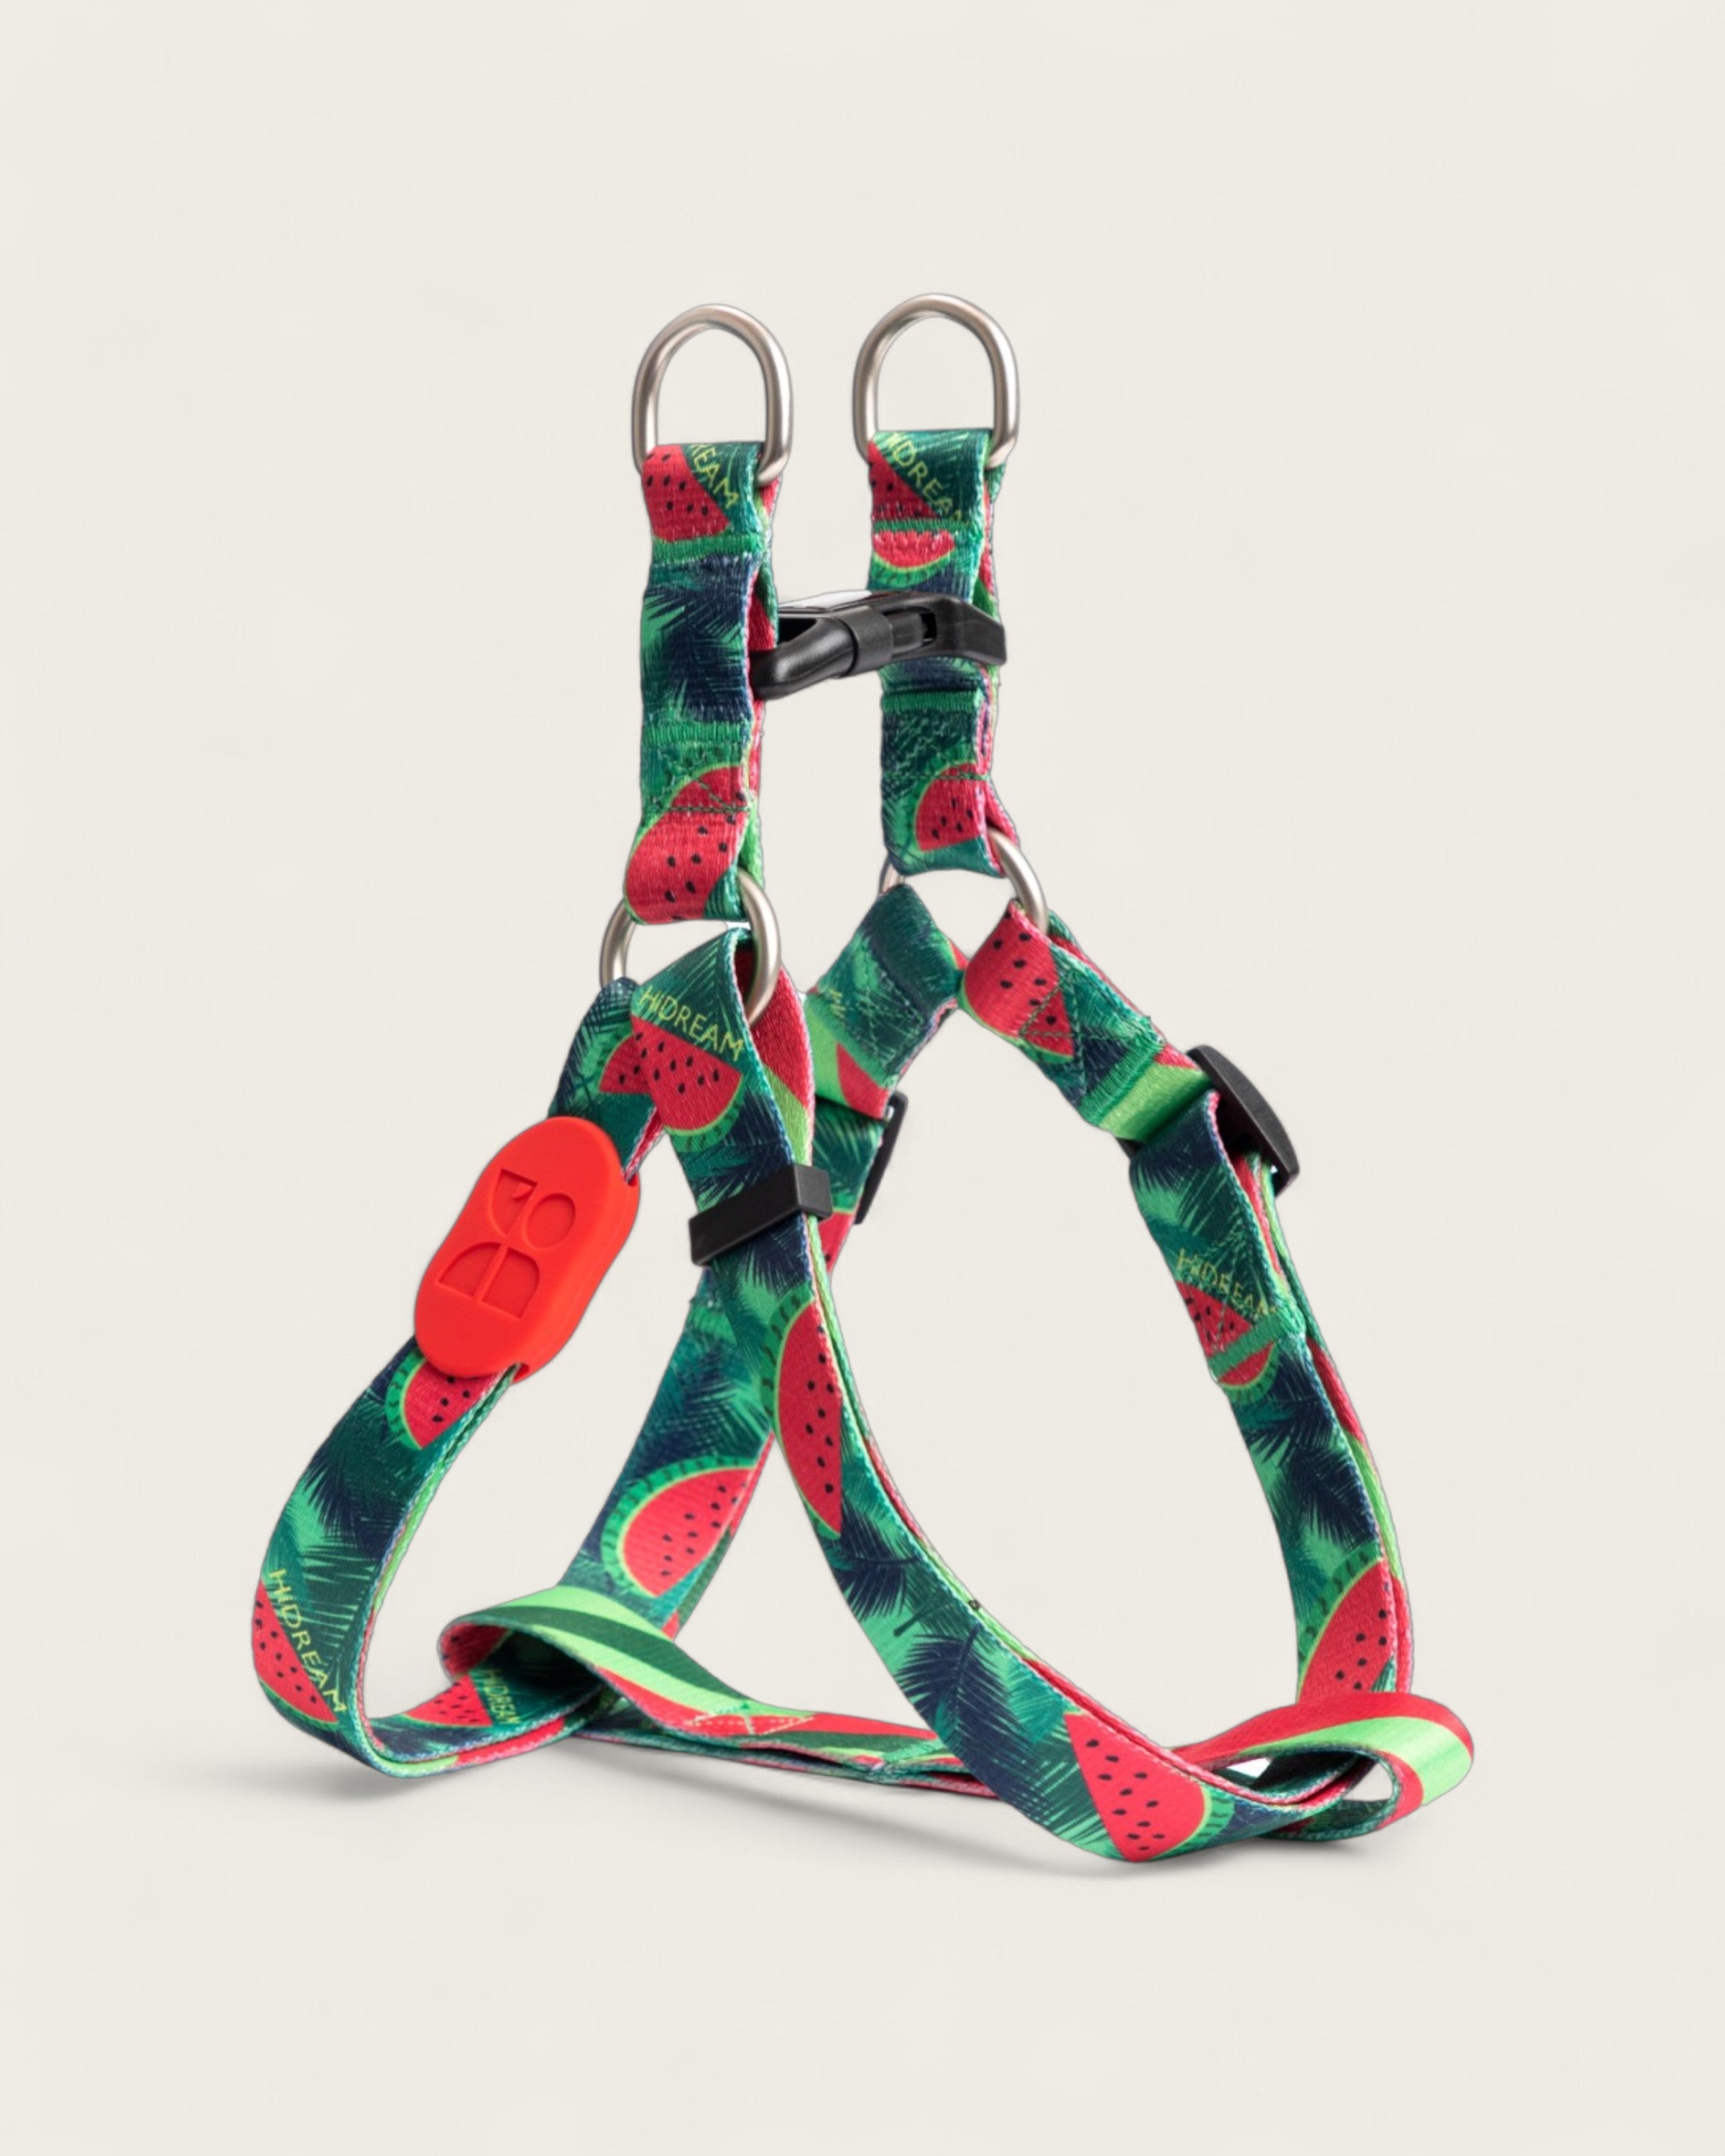
- Step-In Harness: The harness lays flat on the ground, and your dog steps into two loops before you secure it on their back.
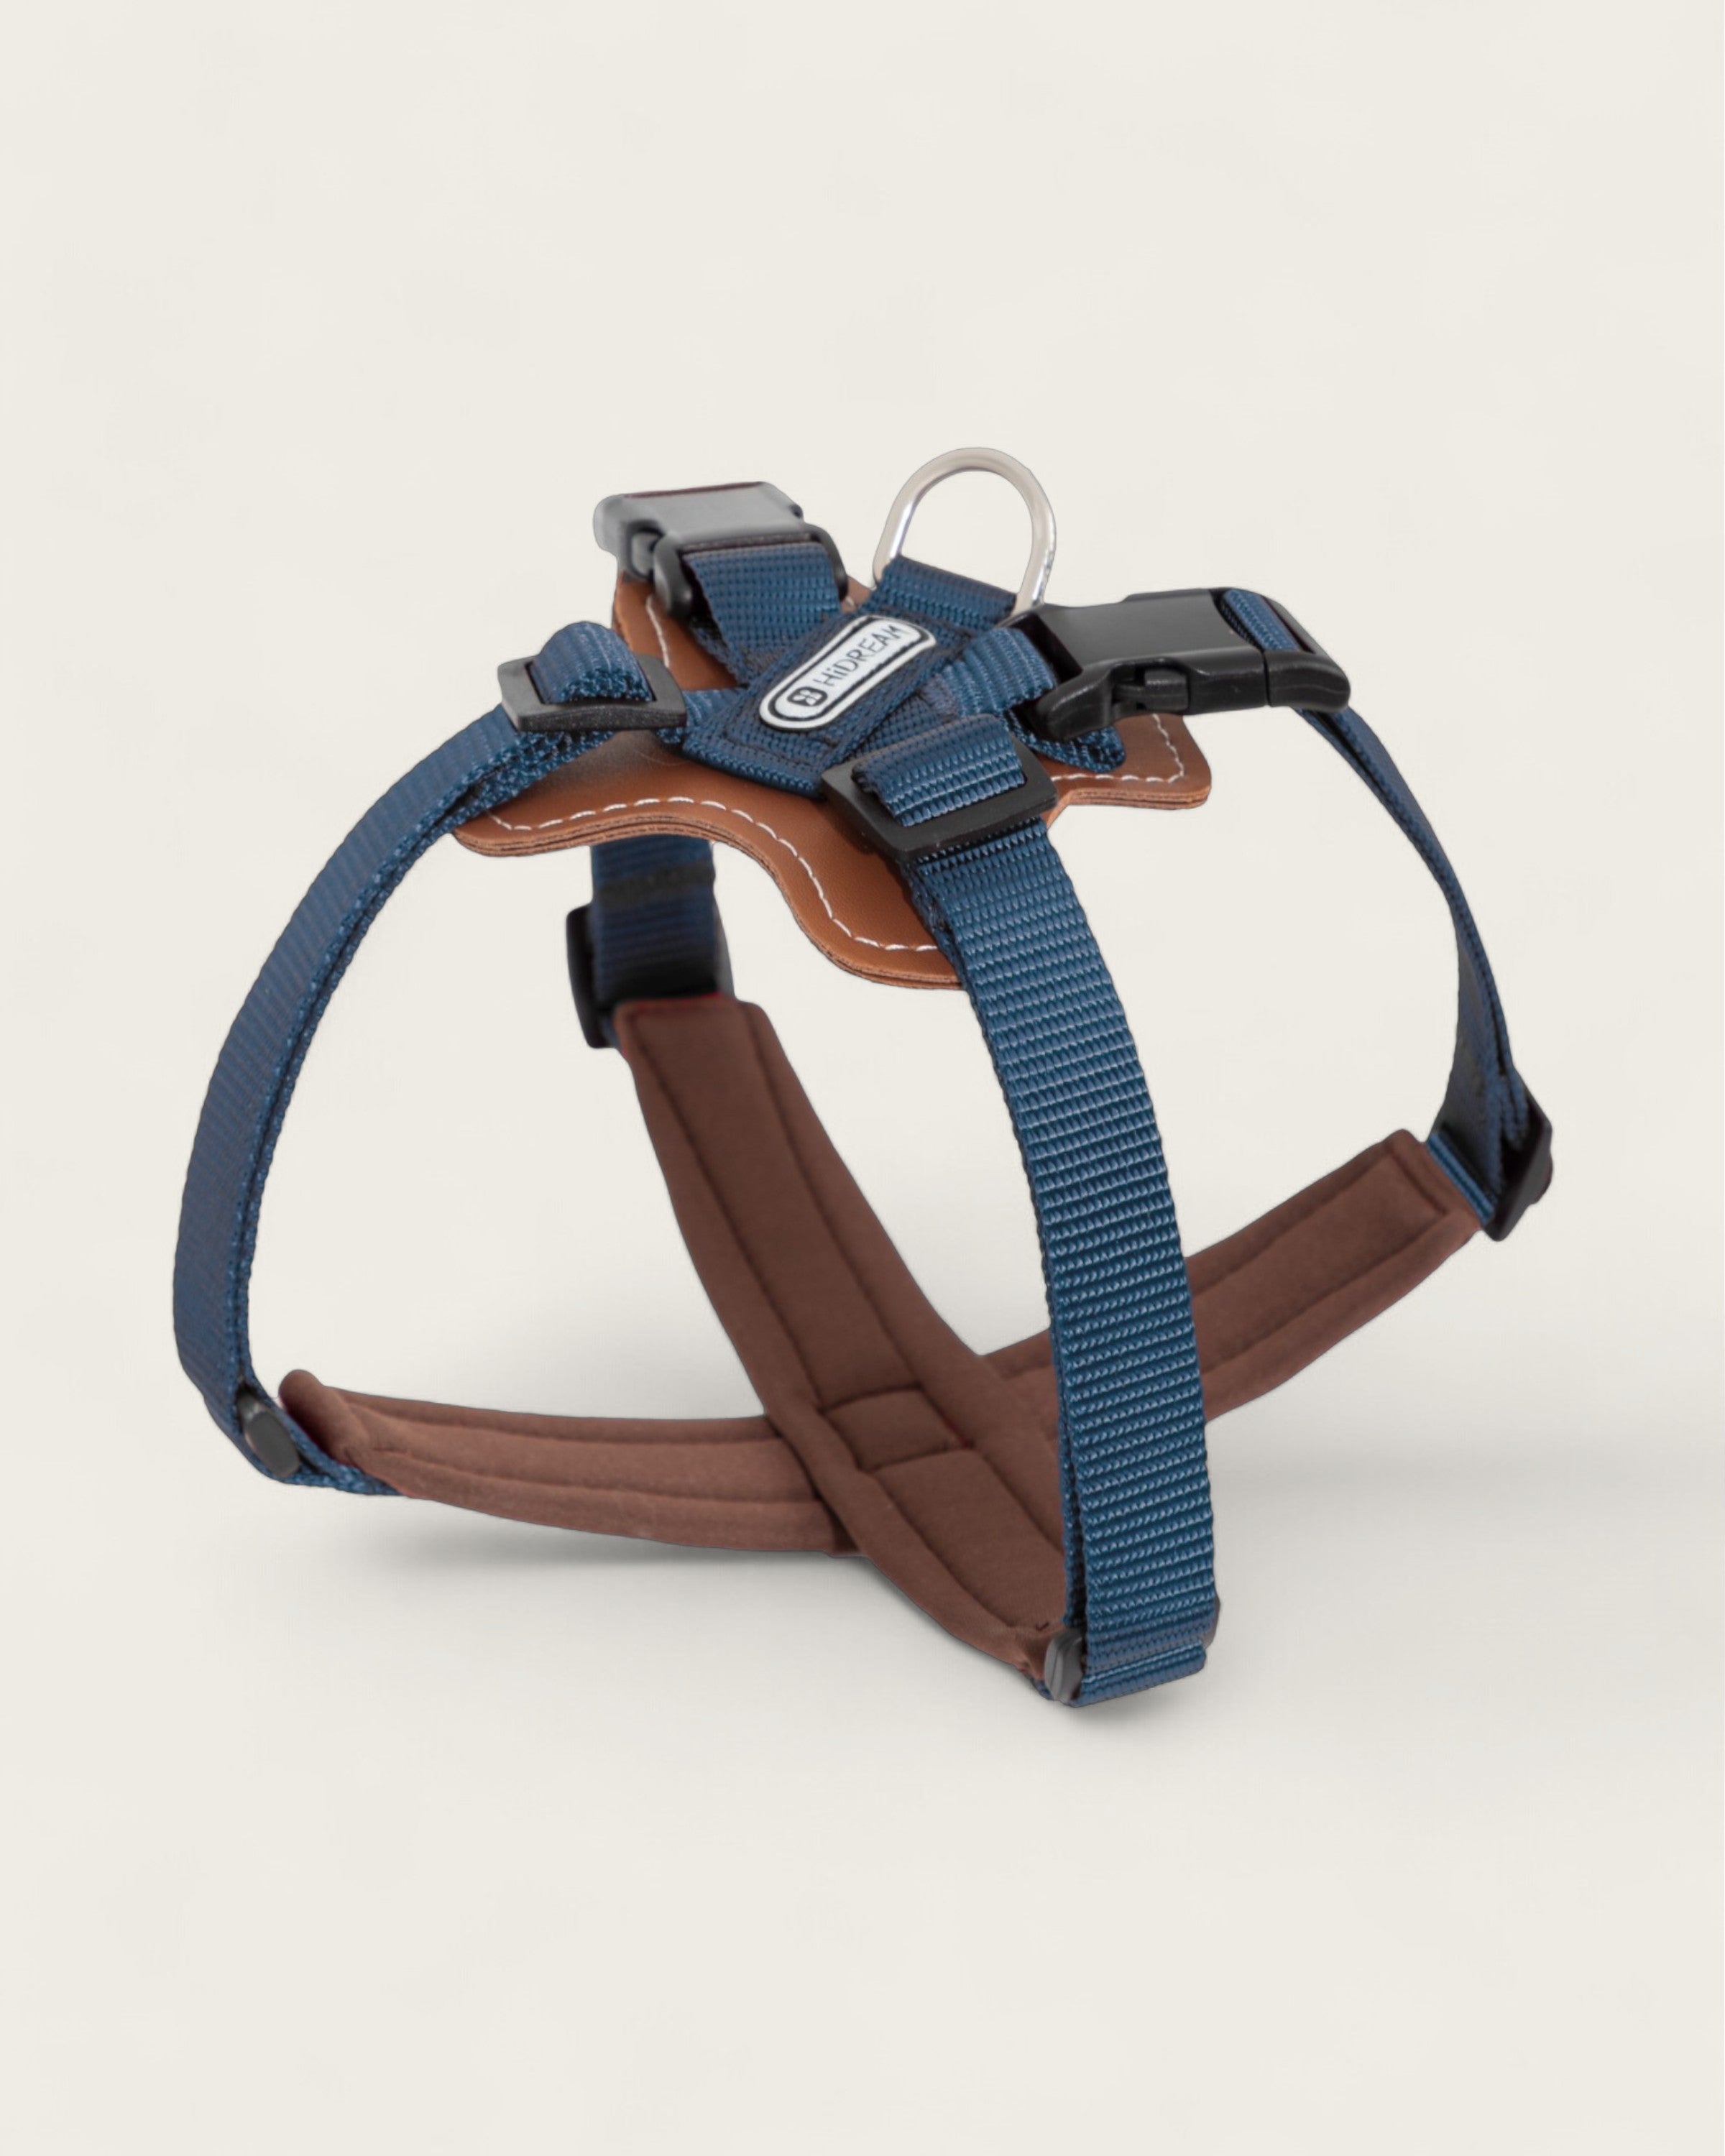
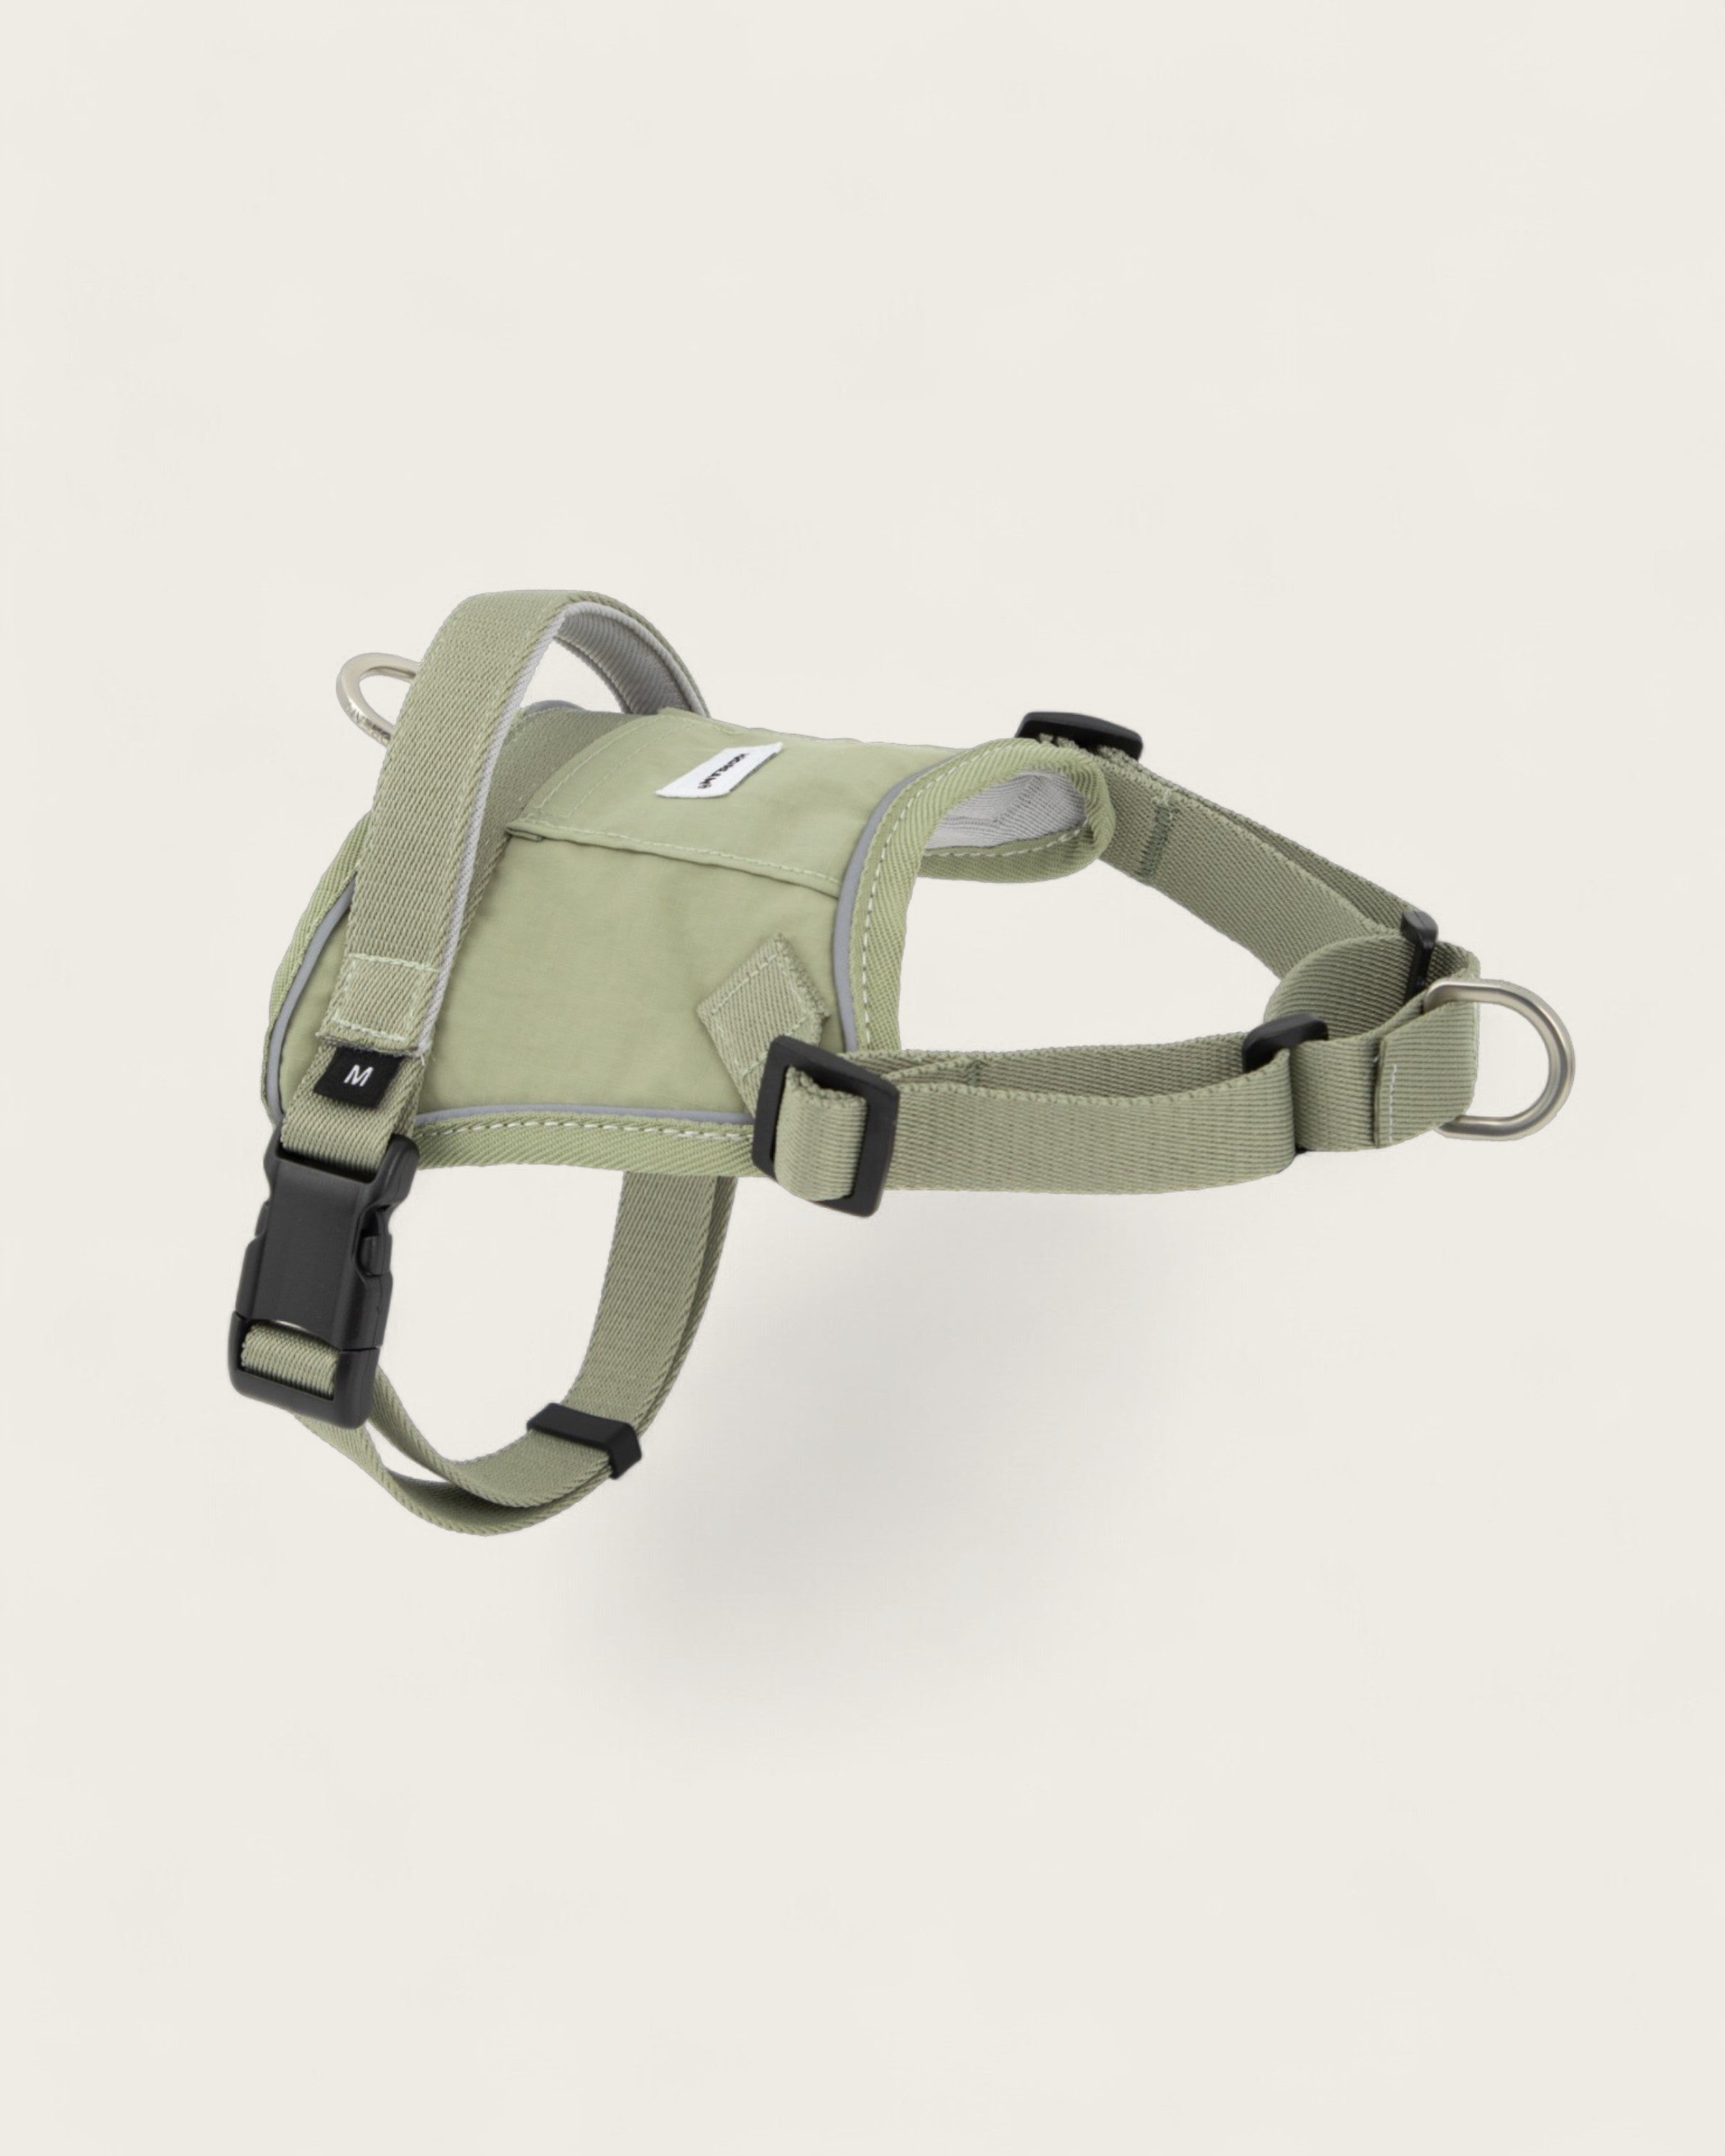
- Over-the-Head Harness: The harness is slipped over the dog’s head, with adjustable straps around the chest and back.
Before putting the harness on, take a moment to inspect its structure to ensure it’s facing the right direction. This will help you avoid unnecessary confusion or adjustments later.

3. How to Put On the Harness
Step-In Harness
- Lay the harness flat on the ground, forming two loops.
- Guide your dog’s front legs into each loop.
- Pull the harness up over their chest and secure the clips on their back.
- Adjust the straps for a snug yet comfortable fit.
Over-the-Head Harness
- Slip the harness over your dog’s head, ensuring that the chest strap sits between the front legs.
- Adjust the chest strap to fit securely around the torso.
- Fasten the buckle on the back and make any necessary strap adjustments.
Regardless of the harness type, always check that it’s not twisted and sits comfortably on your dog’s body.
4. Adjust for the Right Fit
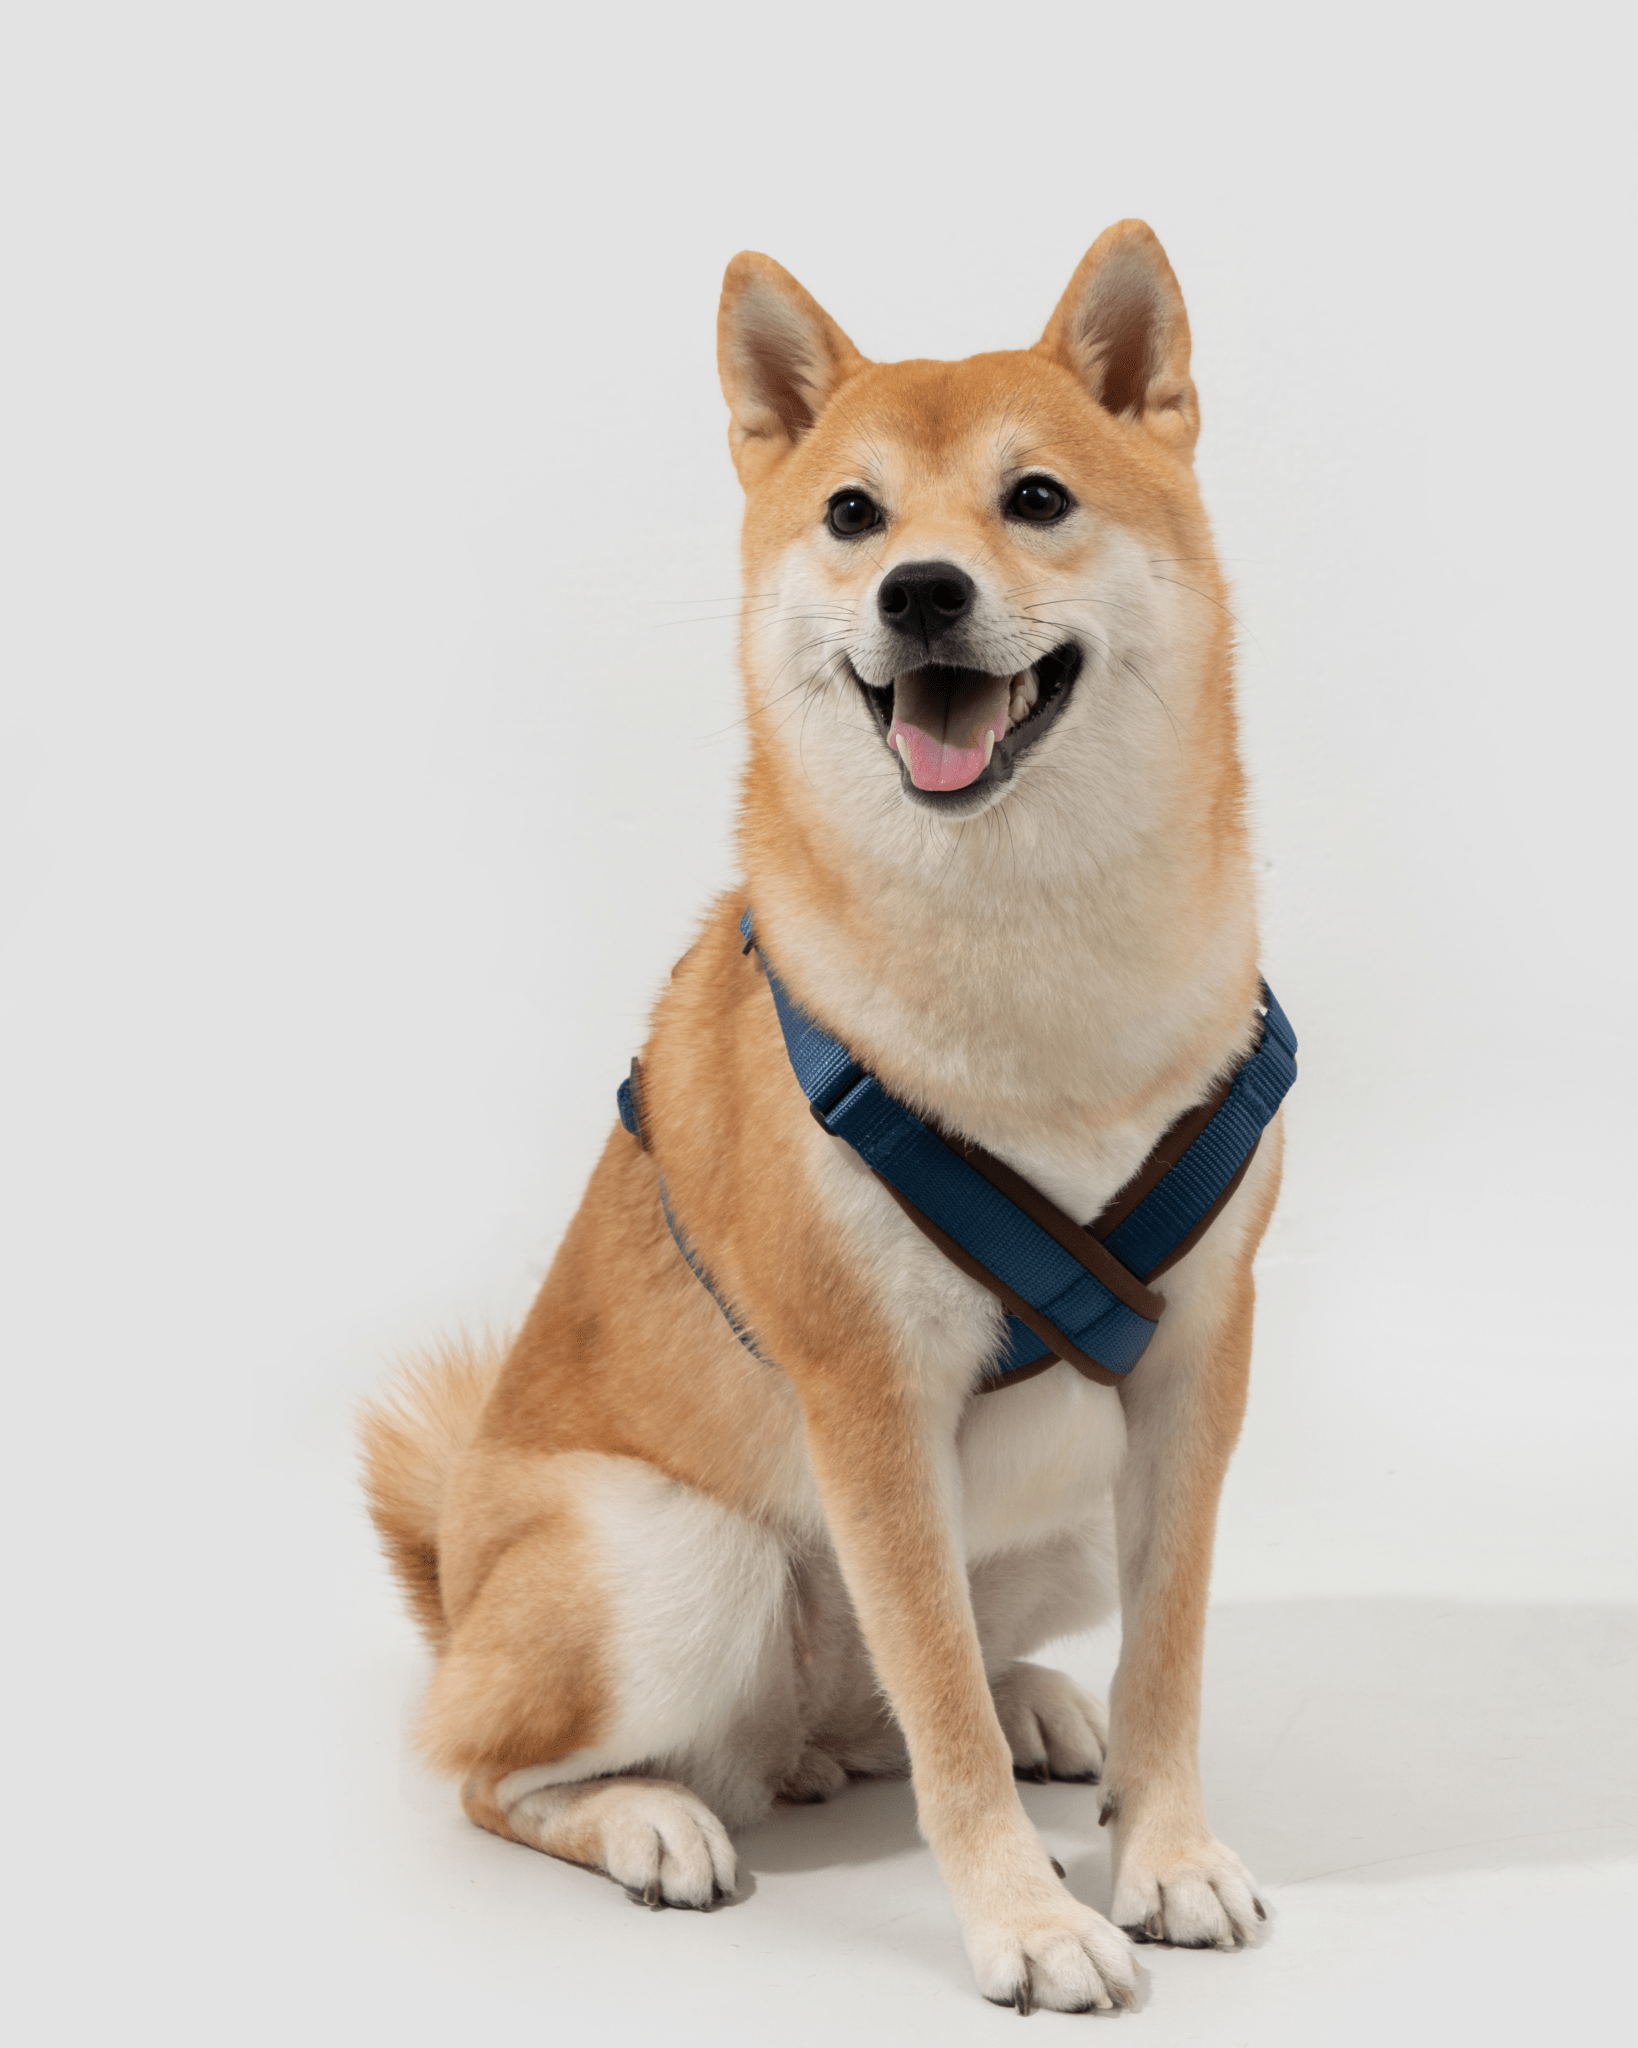
A well-fitted harness should be snug but not too tight. Use the two-finger rule—you should be able to slip two fingers between the harness and your dog’s body. If it’s too tight, it may cause discomfort; if it’s too loose, your dog might slip out during walks.
Observe your dog’s behavior once the harness is on. If they seem uncomfortable, keep scratching at it, or try to remove it, the straps may need further adjustment.
5. Perform a Safety Check
Before heading out for a walk, do a final check to ensure everything is secure:
- Gently tug on the harness to confirm all clips and buckles are properly fastened.
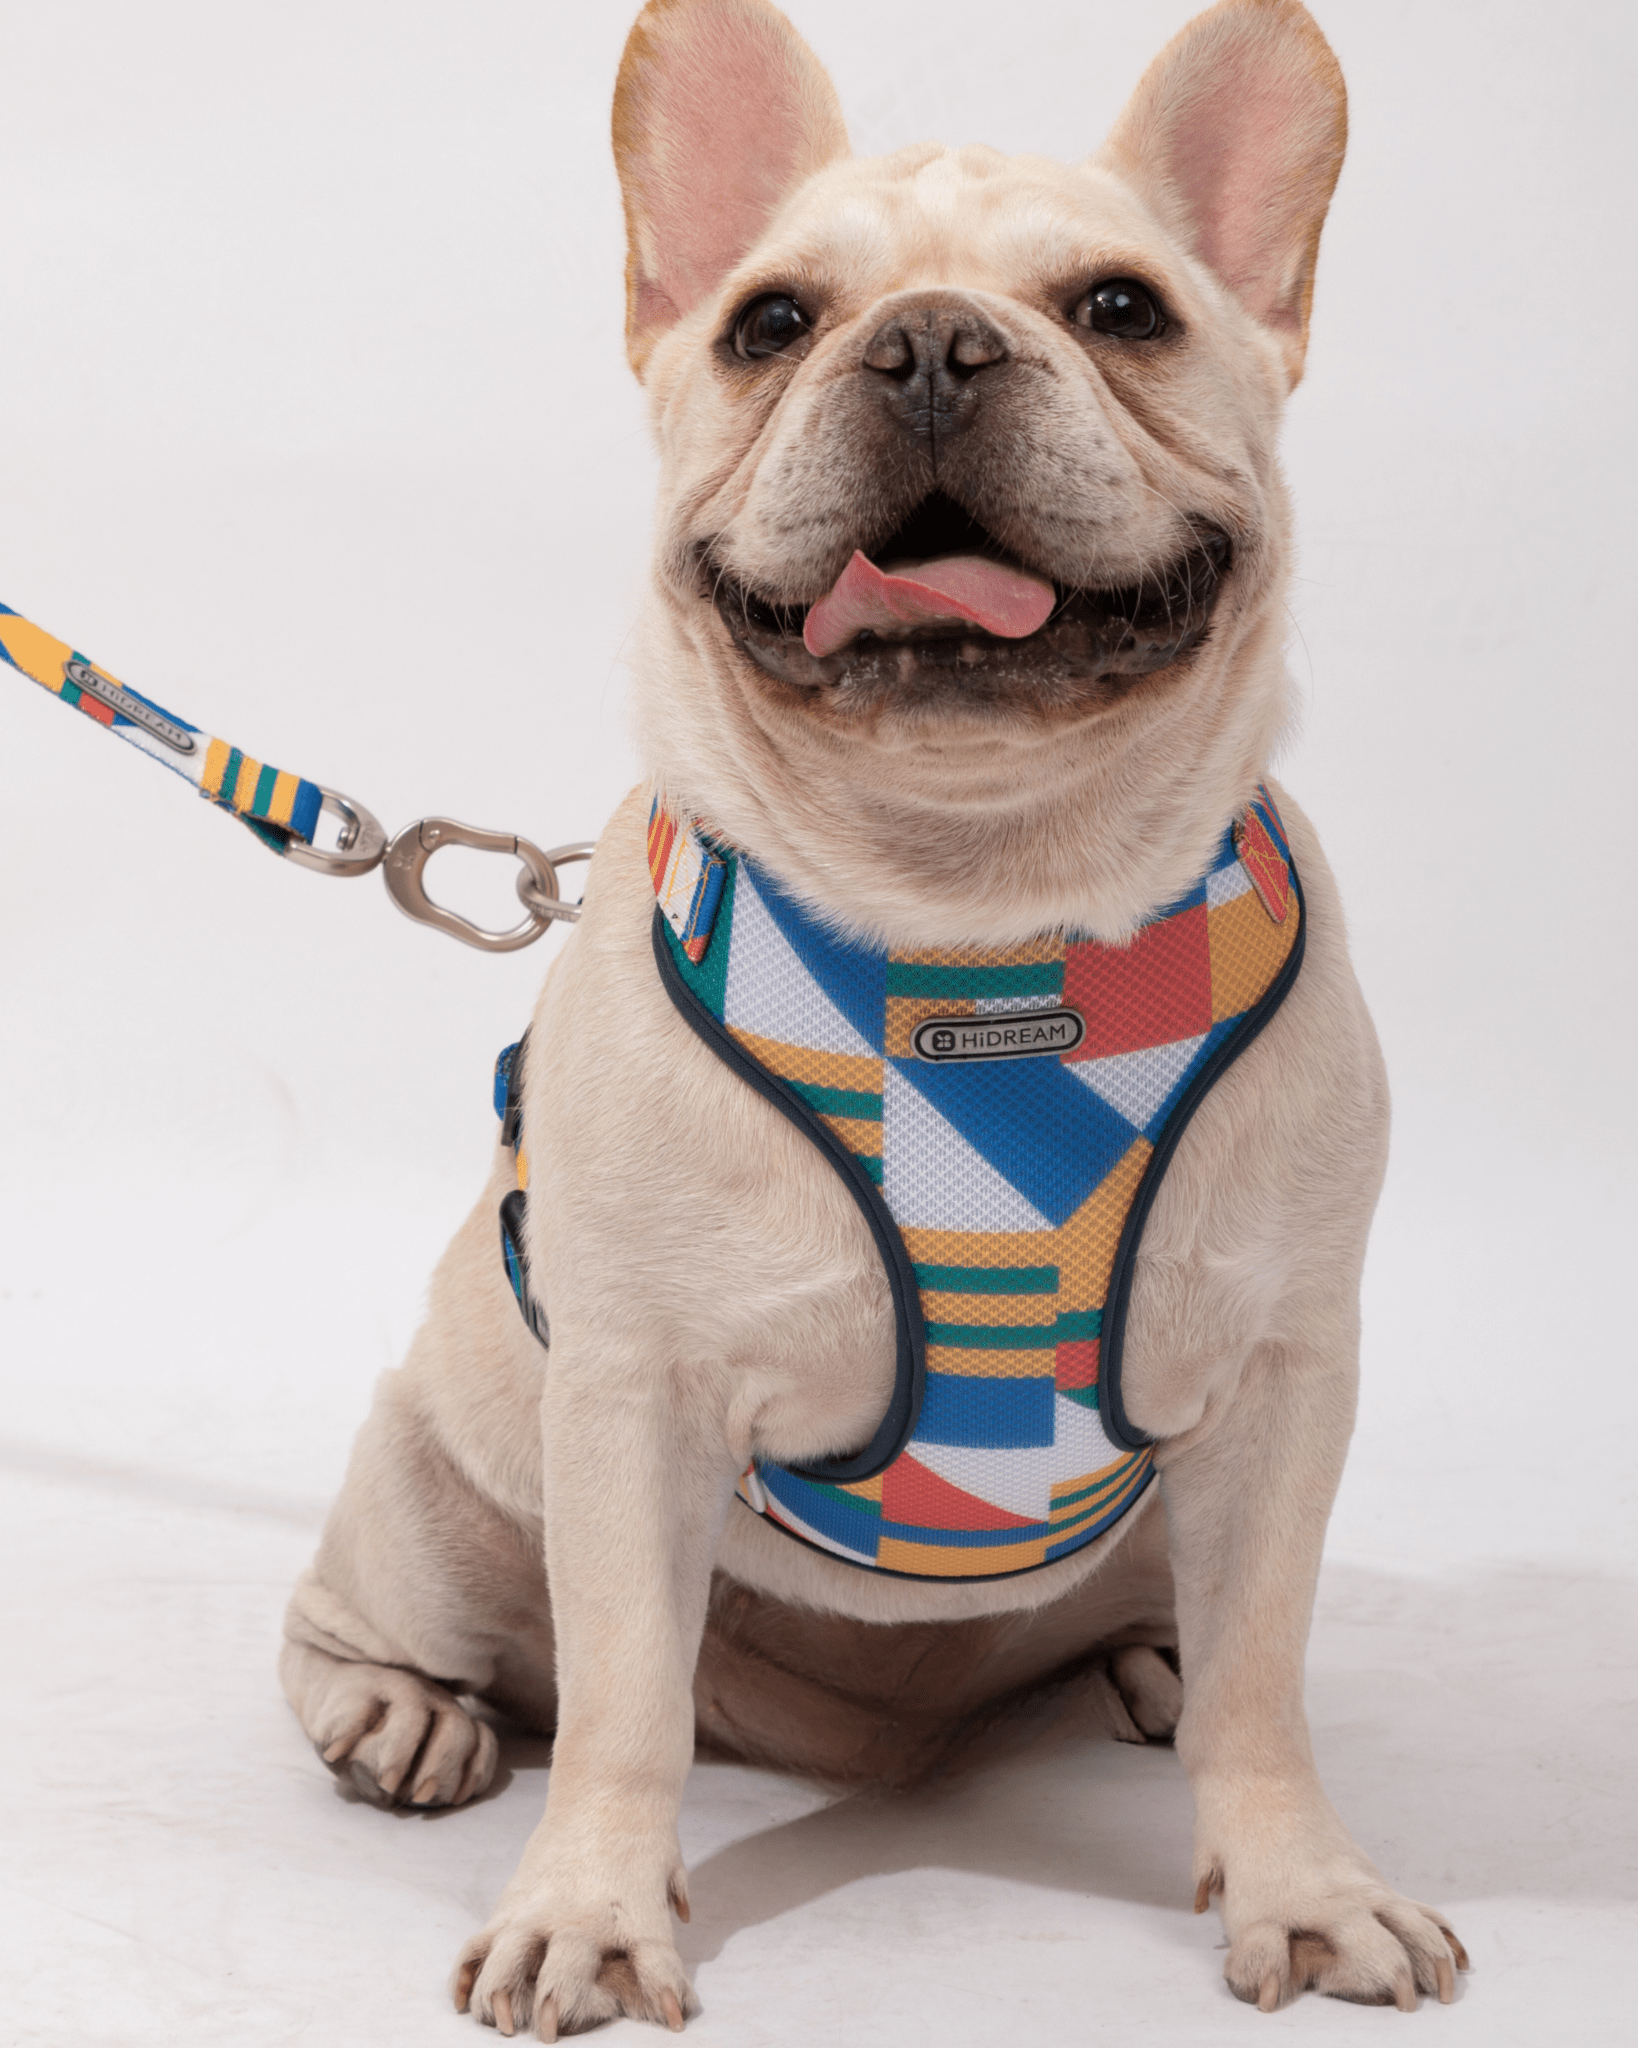
- Attach the leash and let your dog walk around indoors to see if they move freely.
- Make sure the harness doesn’t restrict movement, especially around the shoulders and chest.
A properly adjusted harness should allow your dog to walk, run, and play comfortably without any restriction.

6. Additional Tips for Success
✅ Choose the Right Size – Refer to the size chart provided by the manufacturer and measure your dog’s chest and neck to find the best fit.
✅ Adjust as Needed – Dogs can grow, gain or lose weight, or shed fur, so it’s a good idea to check the fit periodically.
✅ Train with Positive Reinforcement – If your dog resists wearing a harness, introduce it gradually and reward them with treats and praise.
✅ Check for Wear and Tear – Regularly inspect the harness for any frayed stitching, loose buckles, or worn-out straps to ensure it remains secure and effective.
Final Thoughts
Putting on a dog harness correctly is essential for your pet’s safety, comfort, and well-being. Whether you’re using a step-in or over-the-head harness, following these steps will help ensure a secure and comfortable fit. By choosing the right harness and adjusting it properly, you can make every walk stress-free and enjoyable for both you and your furry friend!


